
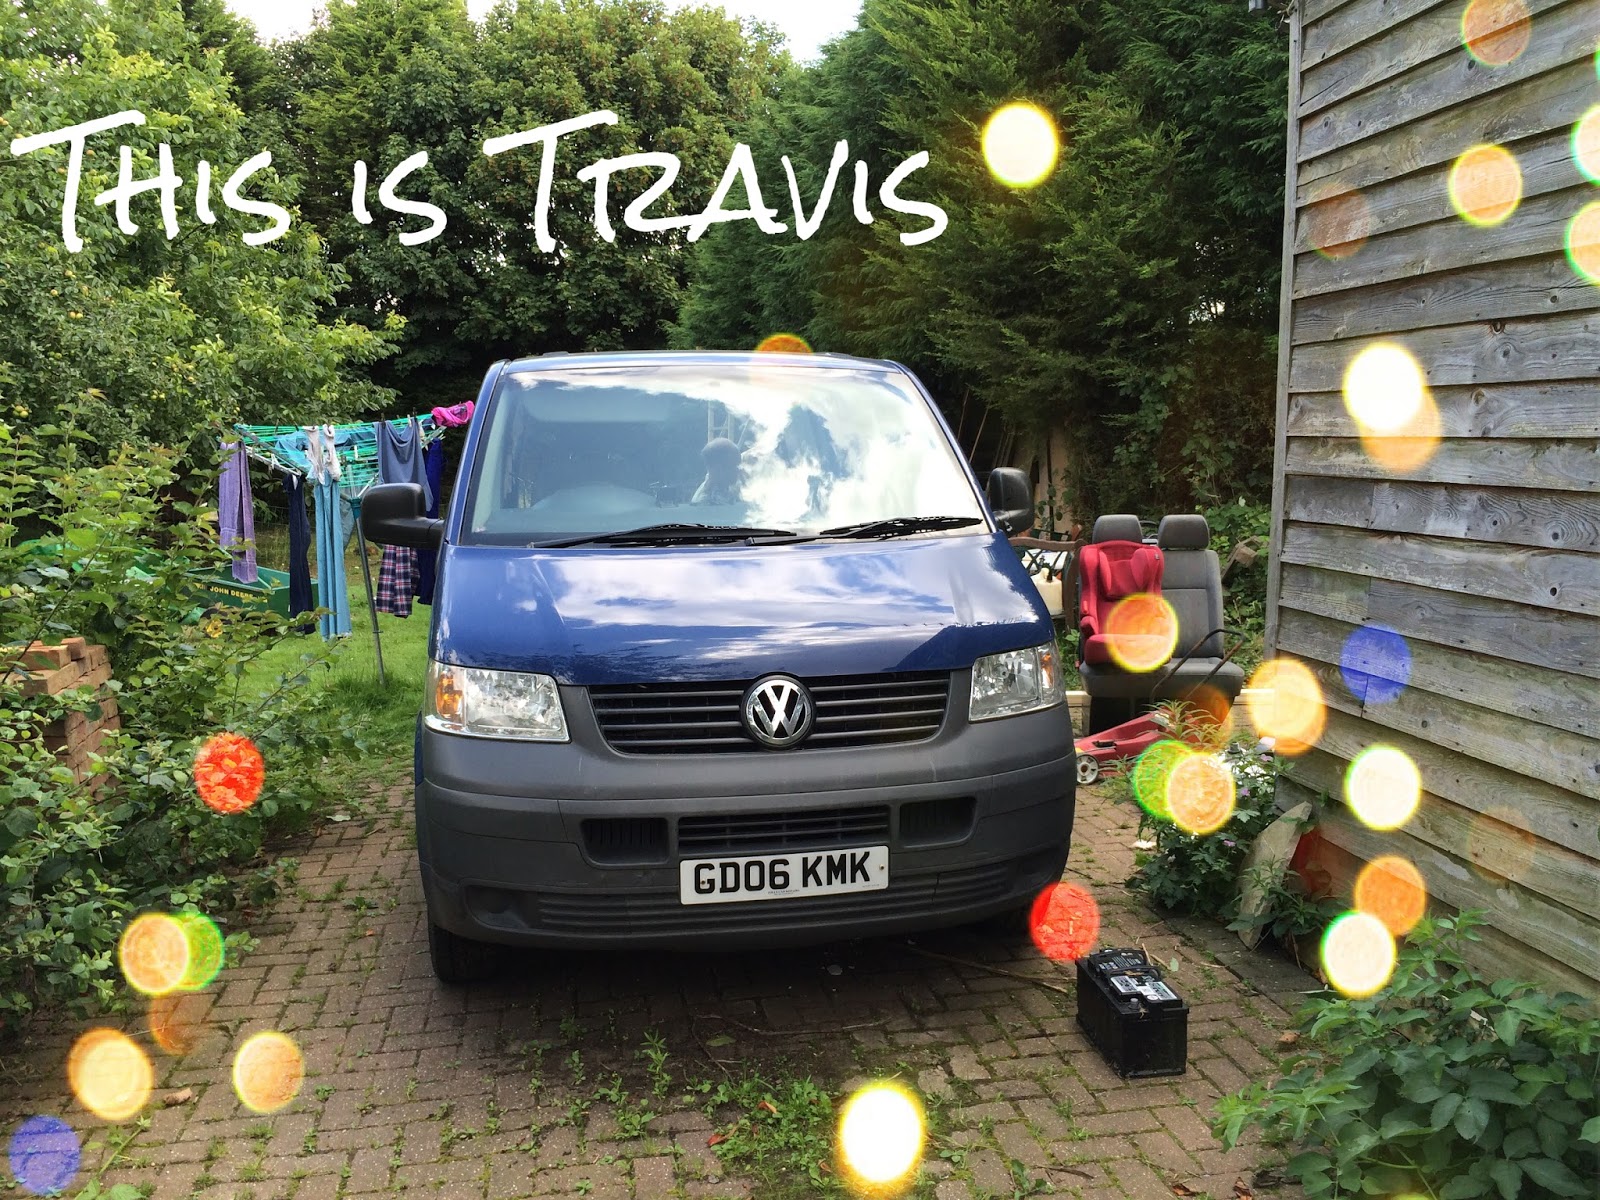
So… We bought a van! We have named him Travis, and we are going to convert him into a campervan! Cool huh? I am going to document each stage of the conversion so if anyone wants to give this ago they can get an idea of the process. Please feel free to comment with any questions, or any tips if you have done this before!
Stage 1: Insulation.
We want to be able to use the van in the Winter time, as well as the Summer so insulation is really important, as it will ensure we don’t get too hot or too cold!
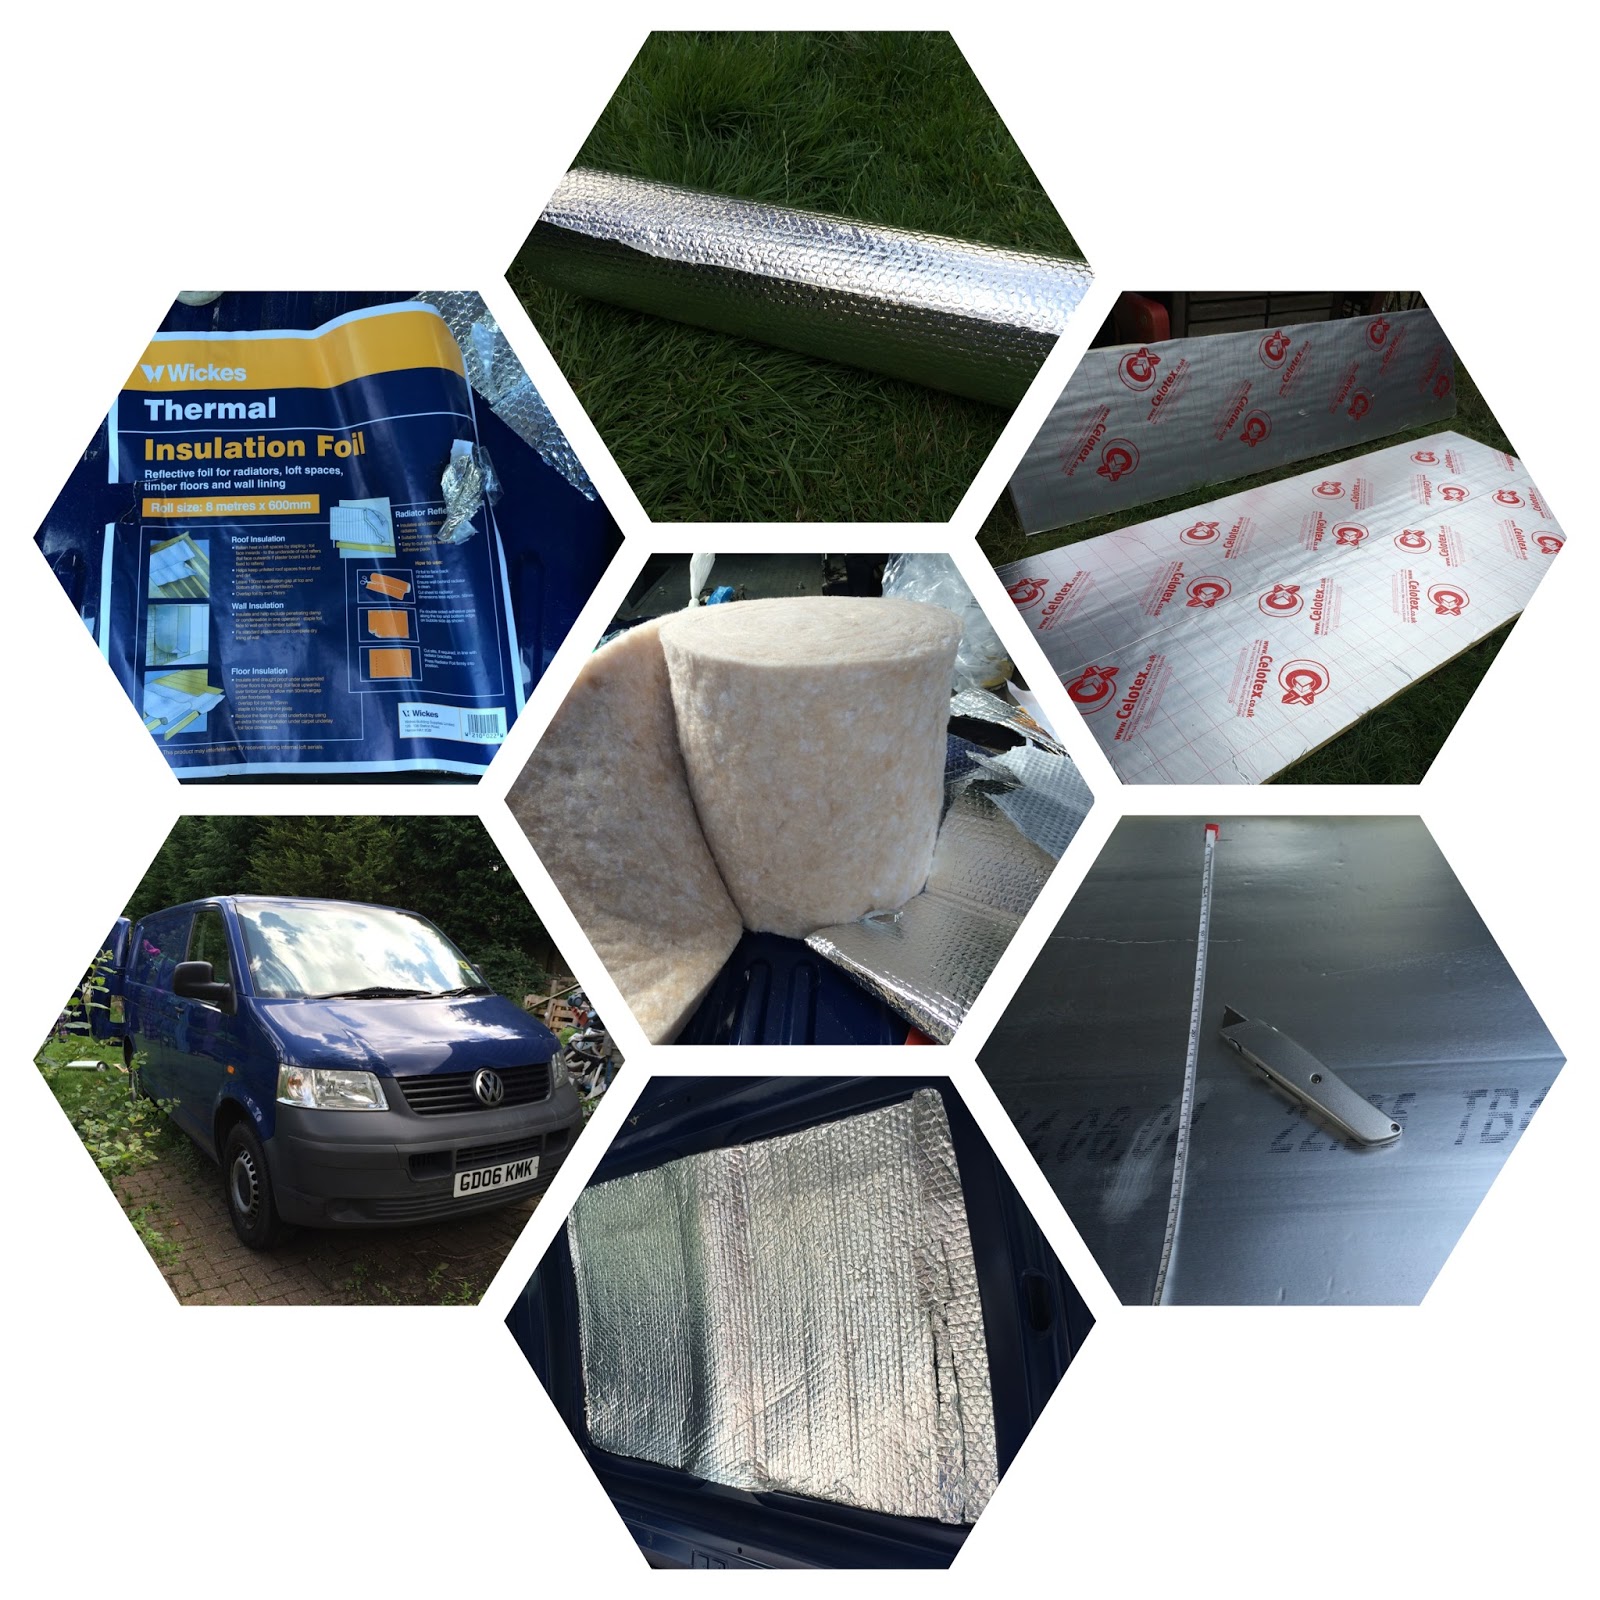
You will need:
- Thermal insulation foil (we used two rolls, which were about £12 each from Wickes)
- 2 x Celotex insulation boards, for the floor and ceiling. £25 each- also from Wickes
- Loft insulation: We used 2 x bags of recycled plastic loft insulation from B&Q
- Tape Measure
- Stanley Knife
- Spray Adhesive
- Strong hold PU Adhesive
- Treated timber to make a frame to sit the Celotex floor board on top of.
- Basic tools (drill, hammer, screwdrivers, spanner)
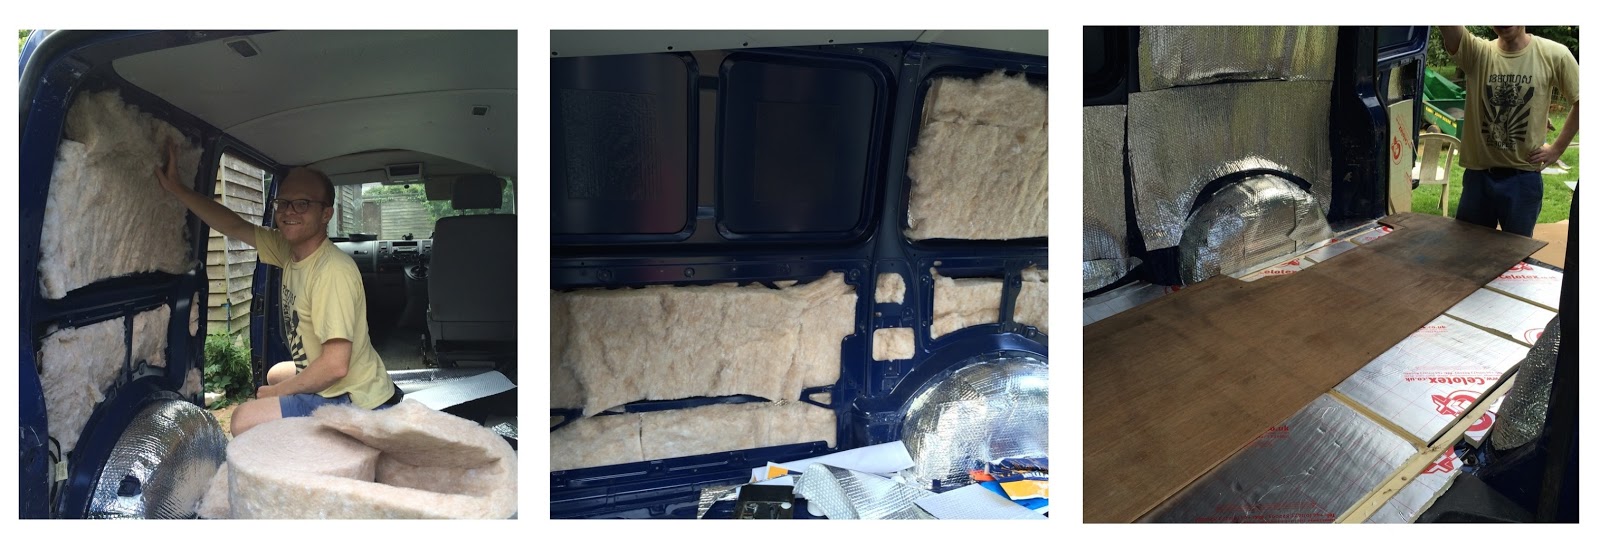
First you will need to remove all the panels from the sides of the van as well as the floor, so that you have a clean, empty van. Start insulating the walls, simply tear the insulation to the size you need it to be, and use the spray adhesive to fix it to the walls. Make sure any wiring is in front of the insulation so you can still access it easily if you need to and remember to leave space where you want your windows to be! Next you can cover the insulation with a layer of thermal insulation foil which you can also fix in place with the spray adhesive.
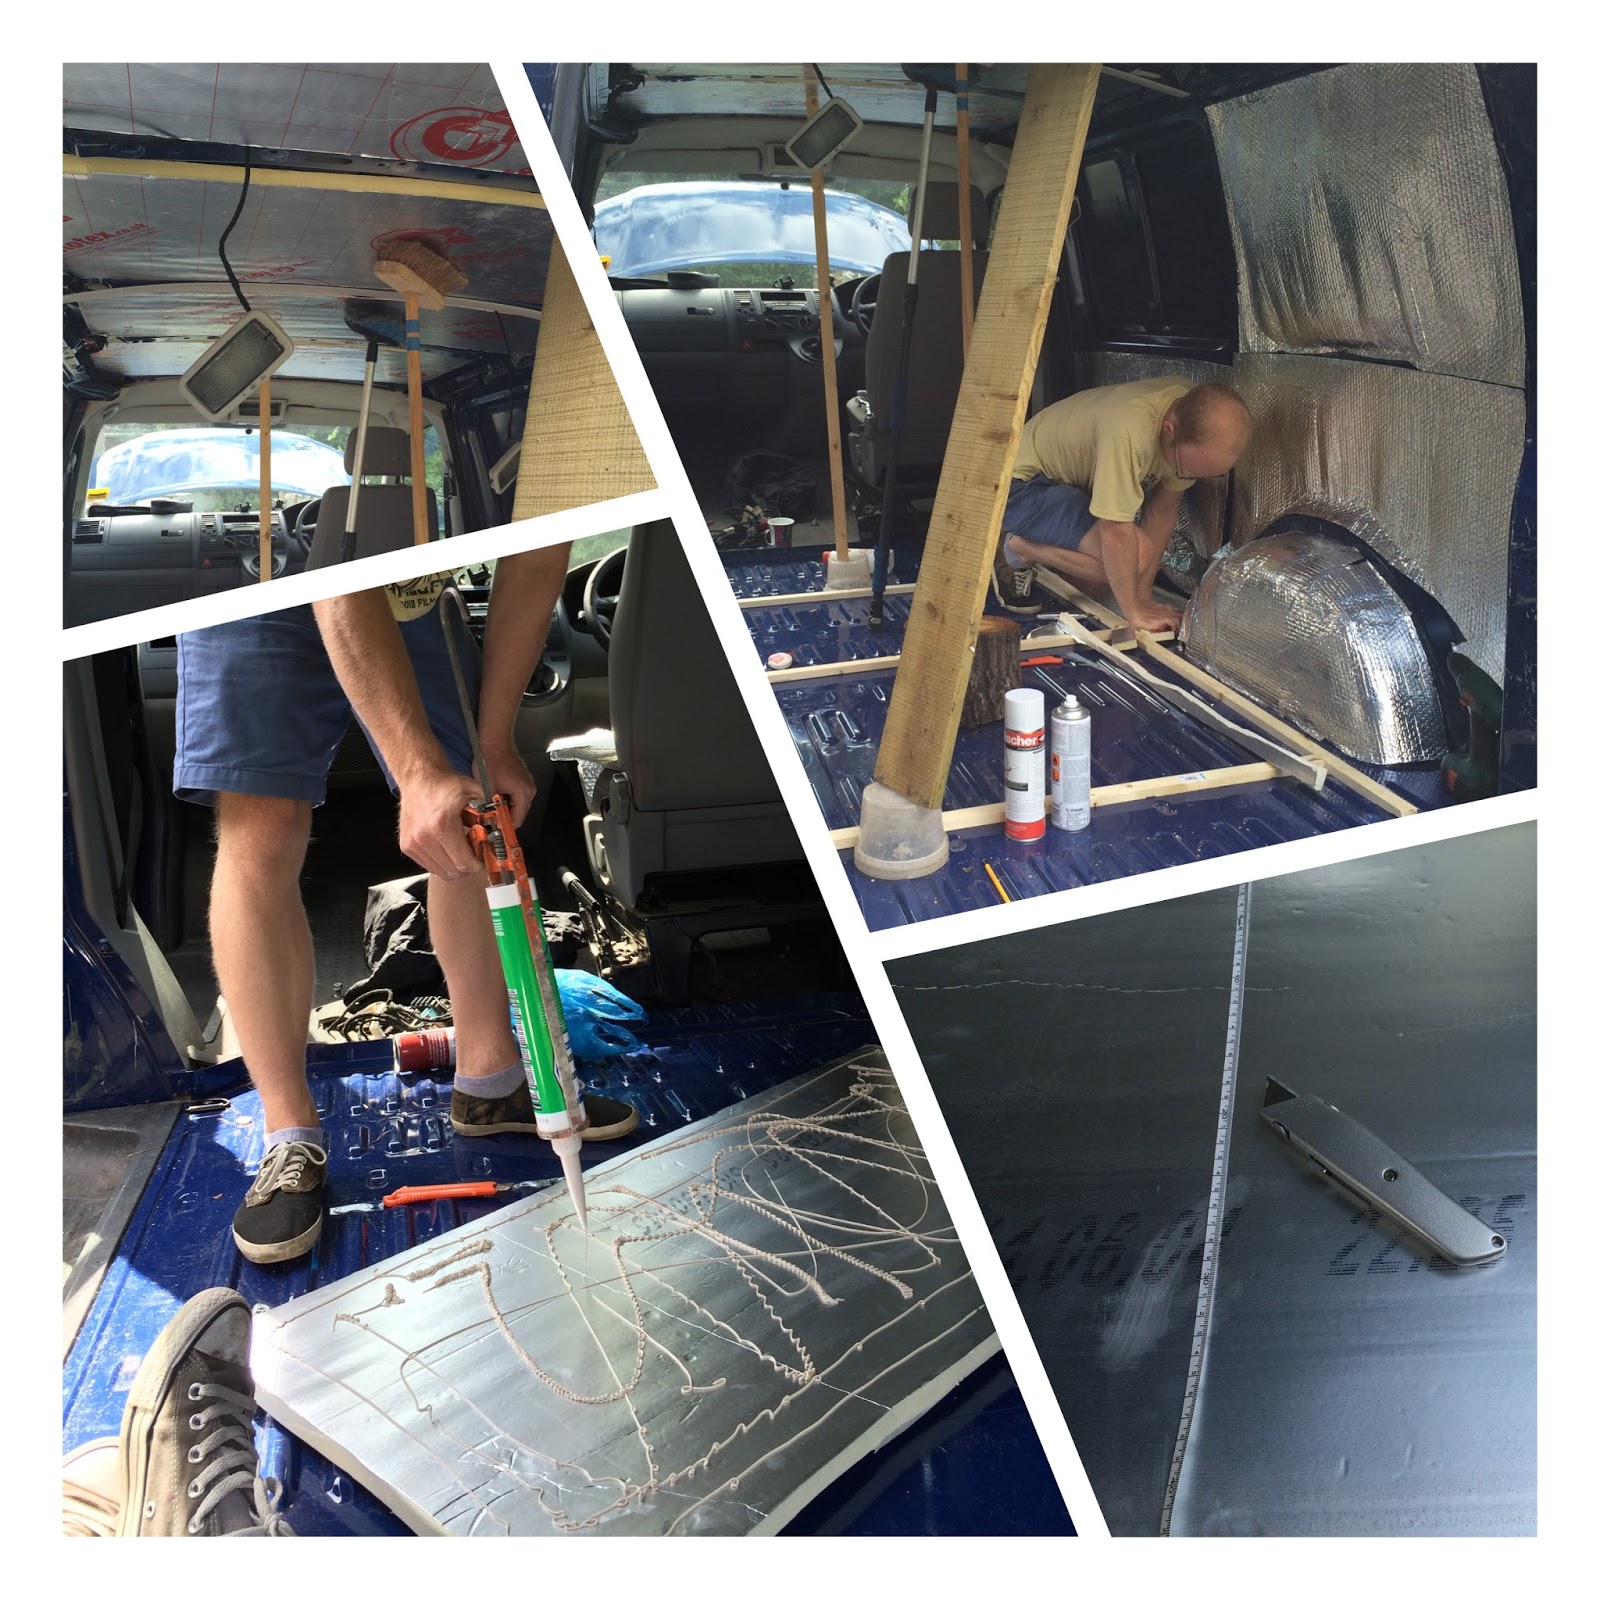
Now its on to the Celotex panels. Use the Stanley knife to cut these to the right size, and use the Strong PU adhesive to stick them to the ceiling. The Adhesive takes a while to dry so use a broom or piece of wood to keep each one pressed in place until they are dry enough (about two hours). For the floor, use the wood to make a base to sit the panel on, and then simply pop it on top! Easy! Once all this is done you can put the floor, wall, and ceiling panels back in, and your van is insulated!
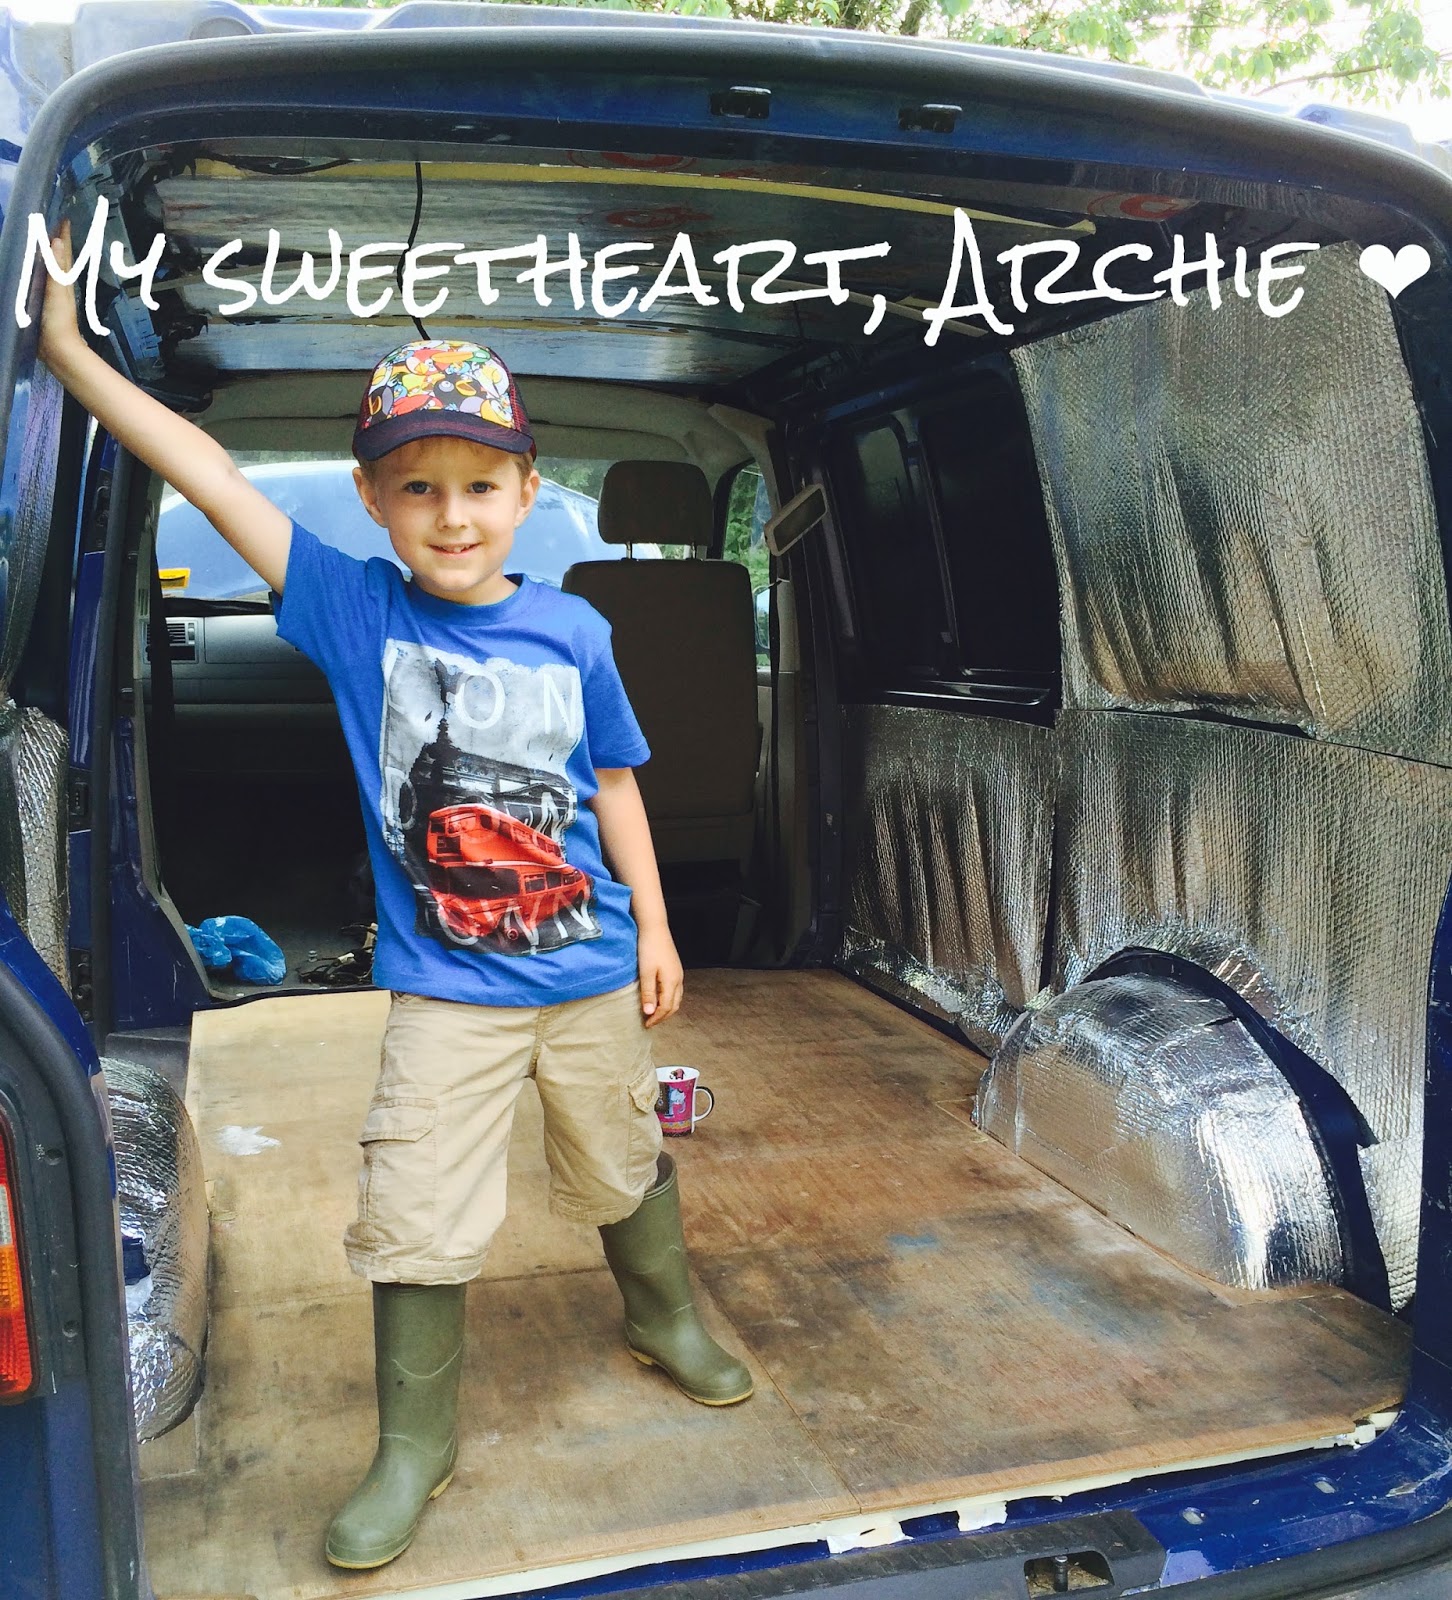
This is my littlest bro, Archie who was helping us all weekend 🙂 The whole insulation process took around 12 hours (6 hours each day), let me know if you have any questions!

Travis is so cute (as is Archie!). Would love to do this one day, so will bookmark these posts. Can't wait to see the finished project! 🙂
Thanks so much, Taylor! It's been such a fun project, I can't wait until its all finished, hopefully it will be done by this summer- fingers crossed!!
Thanks for reading, Let me know if you ever need any help or advice!
Emily xx