
In this guide, I’m sharing my secrets on how to paint walls without streaks when you’re using a paintbrush and a roller. A fresh coat of paint can instantly transform any space, breathing new life into tired walls and making your home feel inviting and rejuvenated. However, the journey to achieving that immaculate, streak-free paint finish can sometimes seem like an elusive endeavour. We’ve all experienced those frustrating moments when, despite our best efforts, streaks and uneven patches mar the otherwise perfect paint job.
If you’ve ever wondered how professional painters achieve those smooth, flawless walls, you’re in the right place. In this blog post, I will unlock the secrets to painting walls without leaving streaks, guiding you through step-by-step techniques and pro tips that will elevate your painting game to a whole new level.
Whether you’re a seasoned DIY enthusiast looking to enhance your skills or a first-time painter eager to embark on a home improvement project, our comprehensive guide will equip you with the knowledge and confidence to achieve a professional-grade finish. Say goodbye to those unsightly streaks, brush marks, and uneven coatings as we delve into the art of seamless wall painting.
In the following sections, I’ll cover essential preparation steps, the right tools and materials, painting techniques, and tricks to ensure you end up with walls that look like they were painted by a pro. So, roll up your sleeves, grab your brushes and rollers, and let’s dive into the world of streak-free wall painting that will leave your friends and family in awe of your newfound expertise. Let’s get started!
How to Paint Without Streaks
Painting walls without streaks requires some preparation, attention to detail, and proper technique. Follow this step-by-step guide to achieve a smooth and streak-free paint finish:
Materials you’ll need:
- High-quality paint (preferably low sheen or matte finish)
- Paint roller and tray
- Paintbrushes (for cutting in and small areas)
- Painter’s tape
- Drop cloths or plastic sheets
- Sandpaper (optional, for smoothing rough patches)
- Primer (if necessary)
Step 1: Prepare the room
The first thing you will want to do is remove any furniture and other objects from the room or move them to the centre and cover them with drop cloths.
Cover the floors with drop cloths or plastic sheets to protect them from accidental spills and paint splatters.
Next, use painter’s tape to mask off areas you don’t want to paint, such as baseboards, trim, and edges of ceilings.
Step 2: Clean the walls
Dust and clean the walls to remove any dirt, grease, or grime. This ensures proper paint adhesion and a smoother finish.
Cleaning walls thoroughly before painting is essential to ensure proper paint adhesion and a smooth finish. Here’s a step-by-step guide on how to clean walls effectively to prepare them for painting:
You’ll need:
- Mild detergent or dish soap (or wall cleaning solution from your local DIY store)
- Water
- Clean soft sponge or soft cloth
- Bucket
- Clean towels or rags
Start by using a duster or a soft broom to remove any dust, cobwebs, or loose debris from the walls. Pay close attention to corners and crevices.
Next, fill a bucket with warm water and add a small amount of mild detergent or dish soap. Avoid using harsh chemicals or abrasive cleaners as they might damage the paint or wall surface. Before cleaning the entire wall, test the cleaning solution on a small, inconspicuous area to ensure it doesn’t cause any discolouration or damage to the paint.
Dip a clean sponge or soft cloth into the cleaning solution, wring out excess water, and gently scrub the walls in a circular motion. Work in sections from top to bottom to avoid streaks or drips.
For stubborn stains like grease marks or scuff marks, you may need to apply a bit more pressure while scrubbing. Use a soft-bristled brush if necessary, but be cautious not to damage the paint.
Once you’ve cleaned a section of the wall, use a separate clean sponge or cloth dipped in plain water to rinse off any soap residue. This step is crucial to ensure there’s no soapy film left on the walls.
Now that your walls are squeaky clean, you can use clean towels or rags to gently dry the walls. Make sure the walls are completely dry before proceeding with any painting, as painting on damp surfaces can lead to poor adhesion and streaks.
Step 3: Patch and repair
Inspect the walls for any holes, cracks, or imperfections. Patch them with filler compound or joint compound and let them dry completely. Sand down the patched areas until they are smooth and even with the rest of the wall.
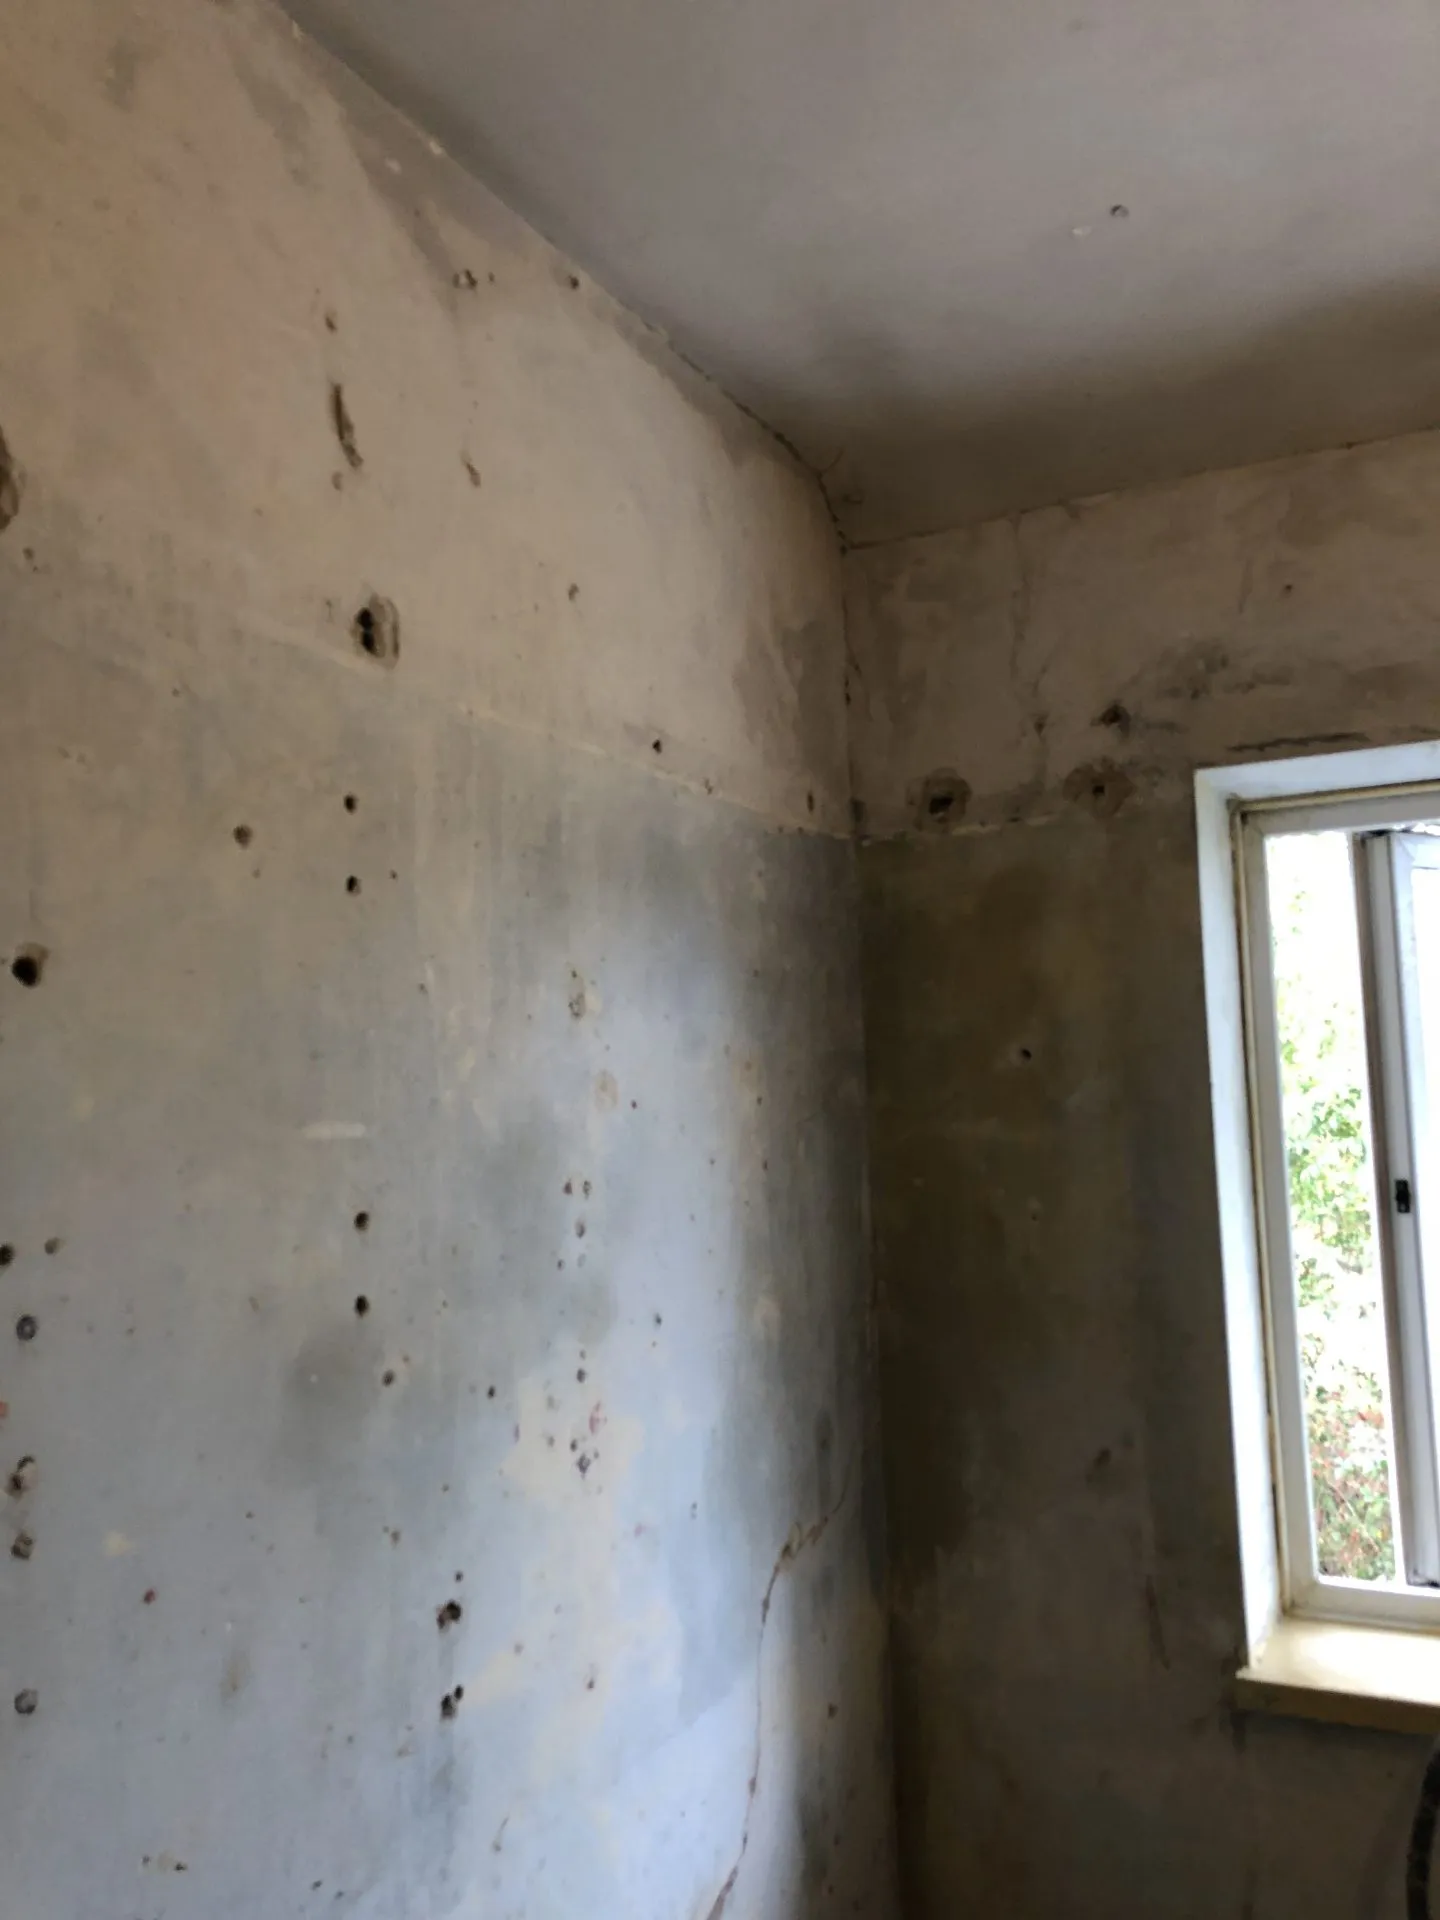
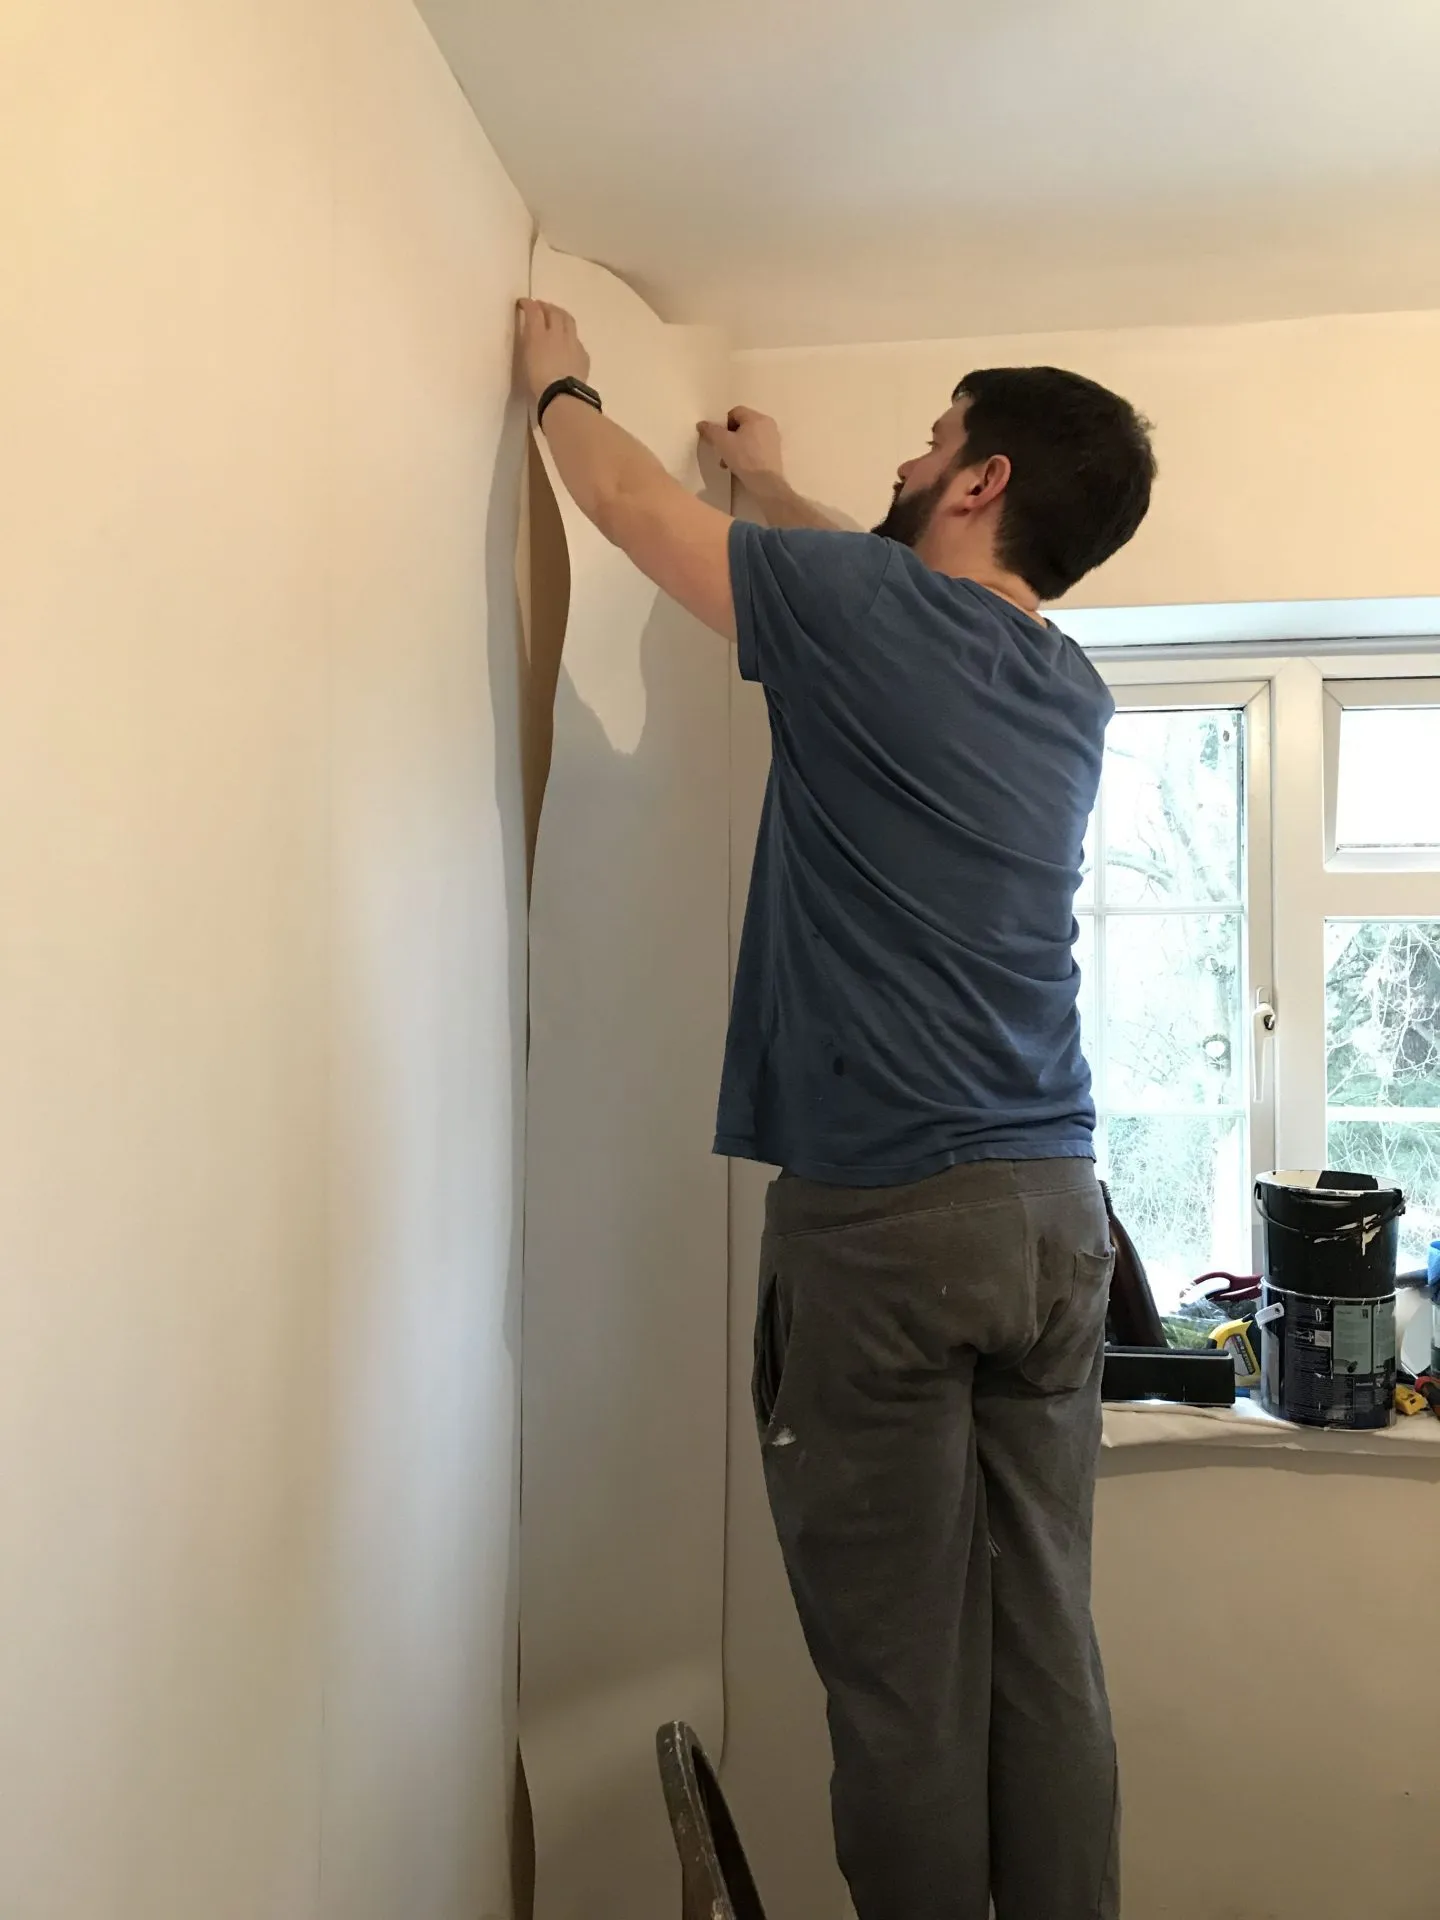
If your plaster walls are severely damaged, you may want to consider getting them re-plastered. If that’s not an option you can also use lining paper to create a smooth clean surface to paint on.
Step 4: Use a primer (if necessary)
If you’re painting over a dark or unevenly coloured surface, I recommend using a primer. A primer helps create a uniform base for the paint, reducing the chances of streaks.
Step 5: Choose the right paint and tools to avoid paint streaks
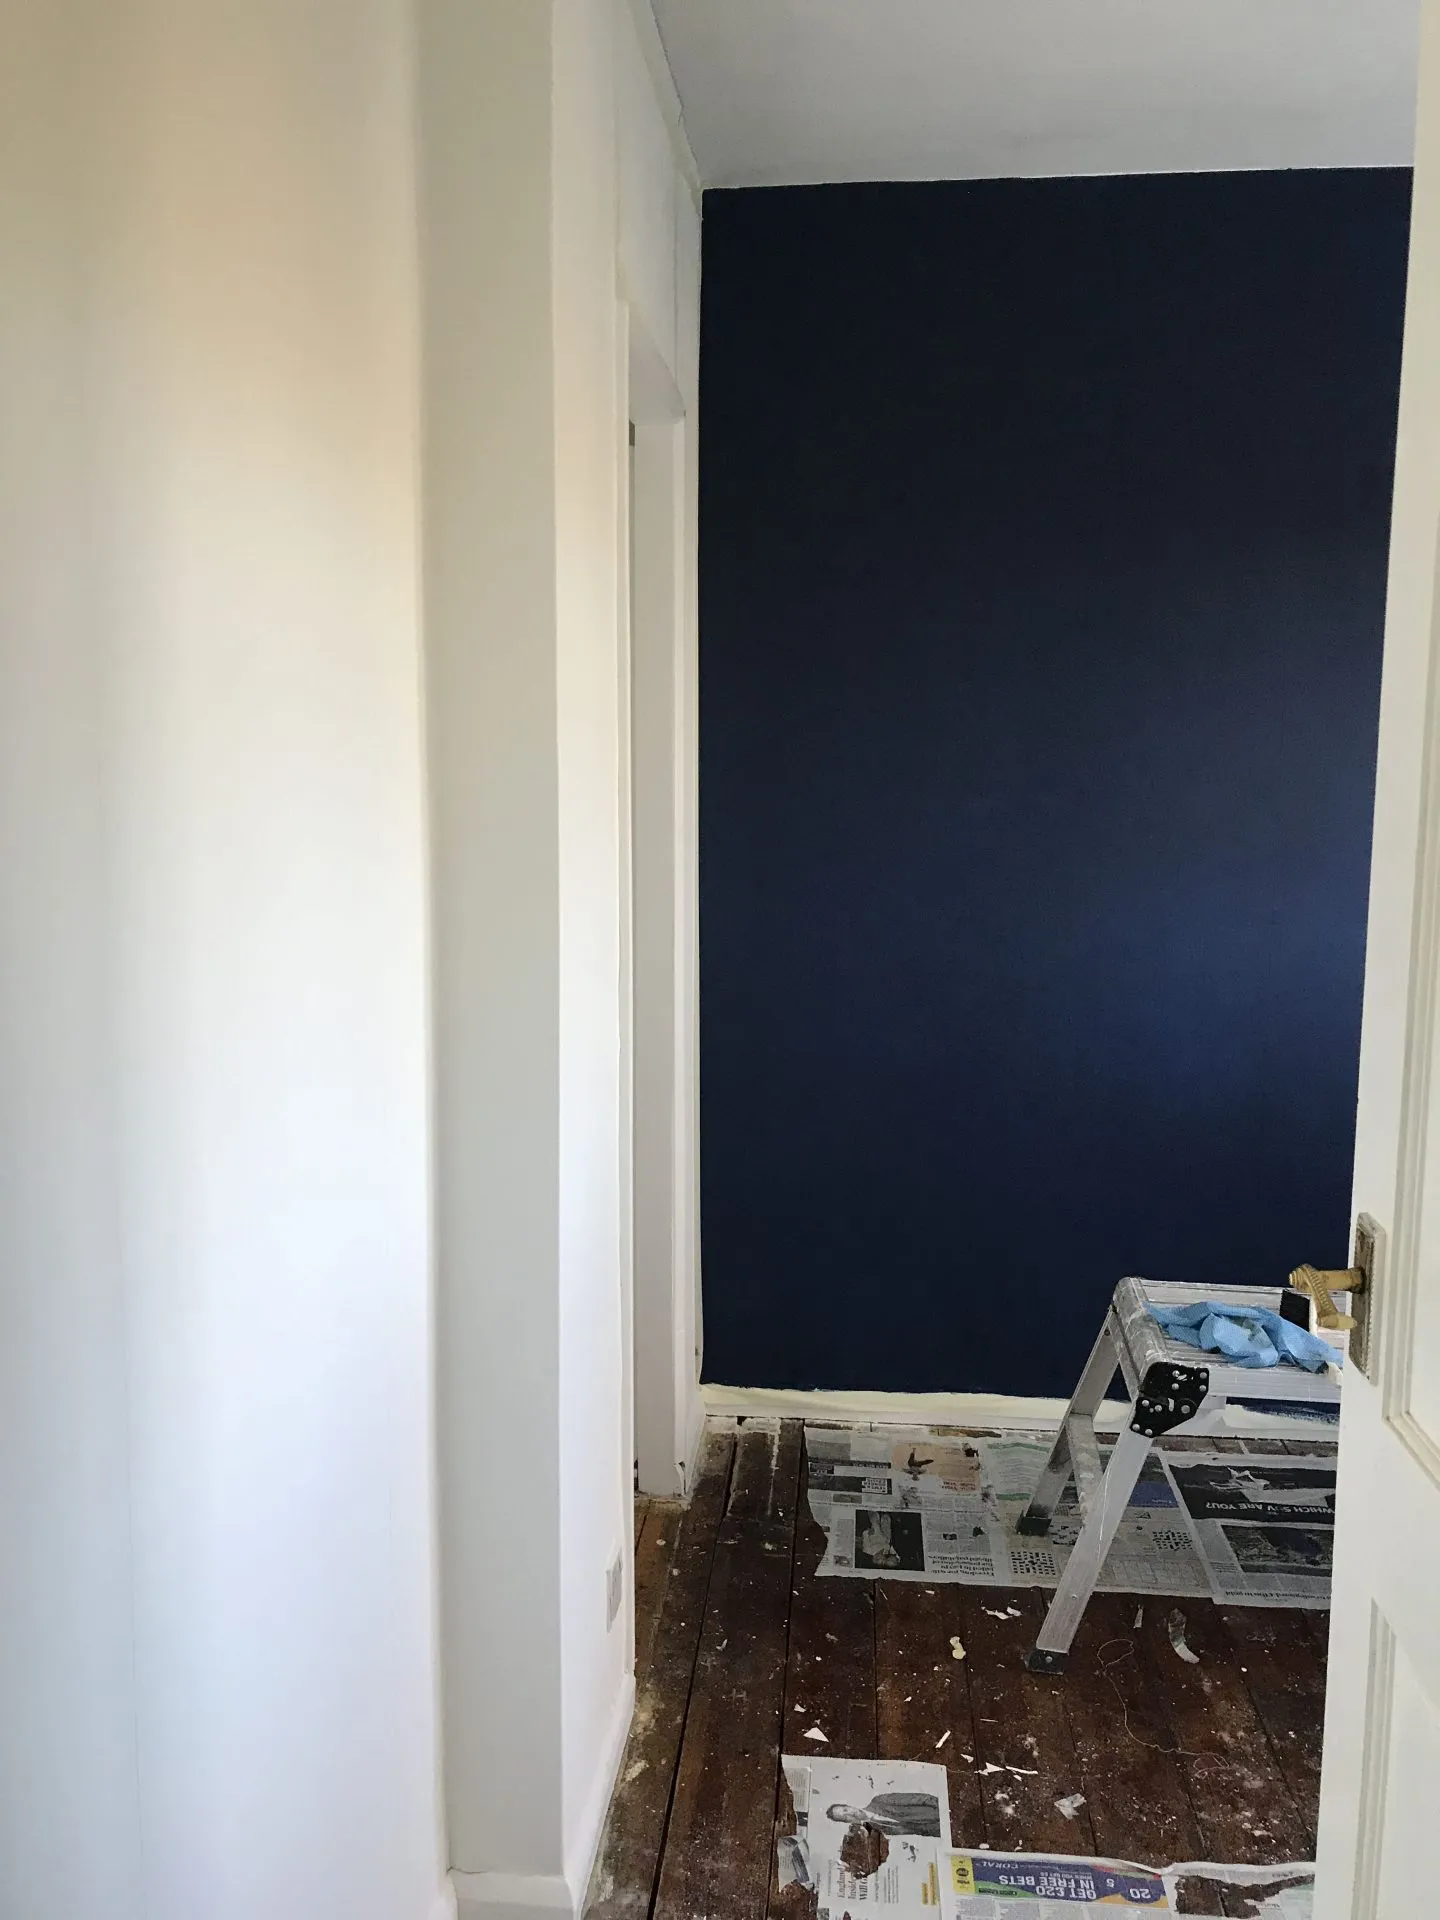
It’s important to select a high-quality paint that is suitable for your wall type (e.g., latex paint for most walls). Matte or Dead flat paint is normally the best option for walls. The only exception is if you are painting a kitchen or bathroom, in which case, you may need to use specific kitchen or bathroom paint which has a slight sheen to it to ensure it’s waterproof and wipeable.
Eggshell is usually the best option for painting interior woodwork and metal such as skirting boards and radiators. And gloss or semi gloss paint is best for either interior or exterior woodwork or metal where you want a glamorous high-shine finish.
Whether you choose Farrow and Ball or Dulux, or one of the other popular paint brands, make sure you use a high-quality roller and paint brush that are appropriate for the type of paint you’re using.
Step 6: Mix the paint well
Stir the paint thoroughly to ensure an even consistency. This will help prevent streaks caused by uneven distribution of pigments.
Step 7: Paint the edges
Start by using a paintbrush to cut in along the edges of the walls, around the trim, and along the corners. This technique is called “cutting in,” and it creates a clean line and prevents streaks when you start rolling.
Go easy on the paint around the edges. If you have excess paint on your brush you are more likely to be able to see the brush strokes.
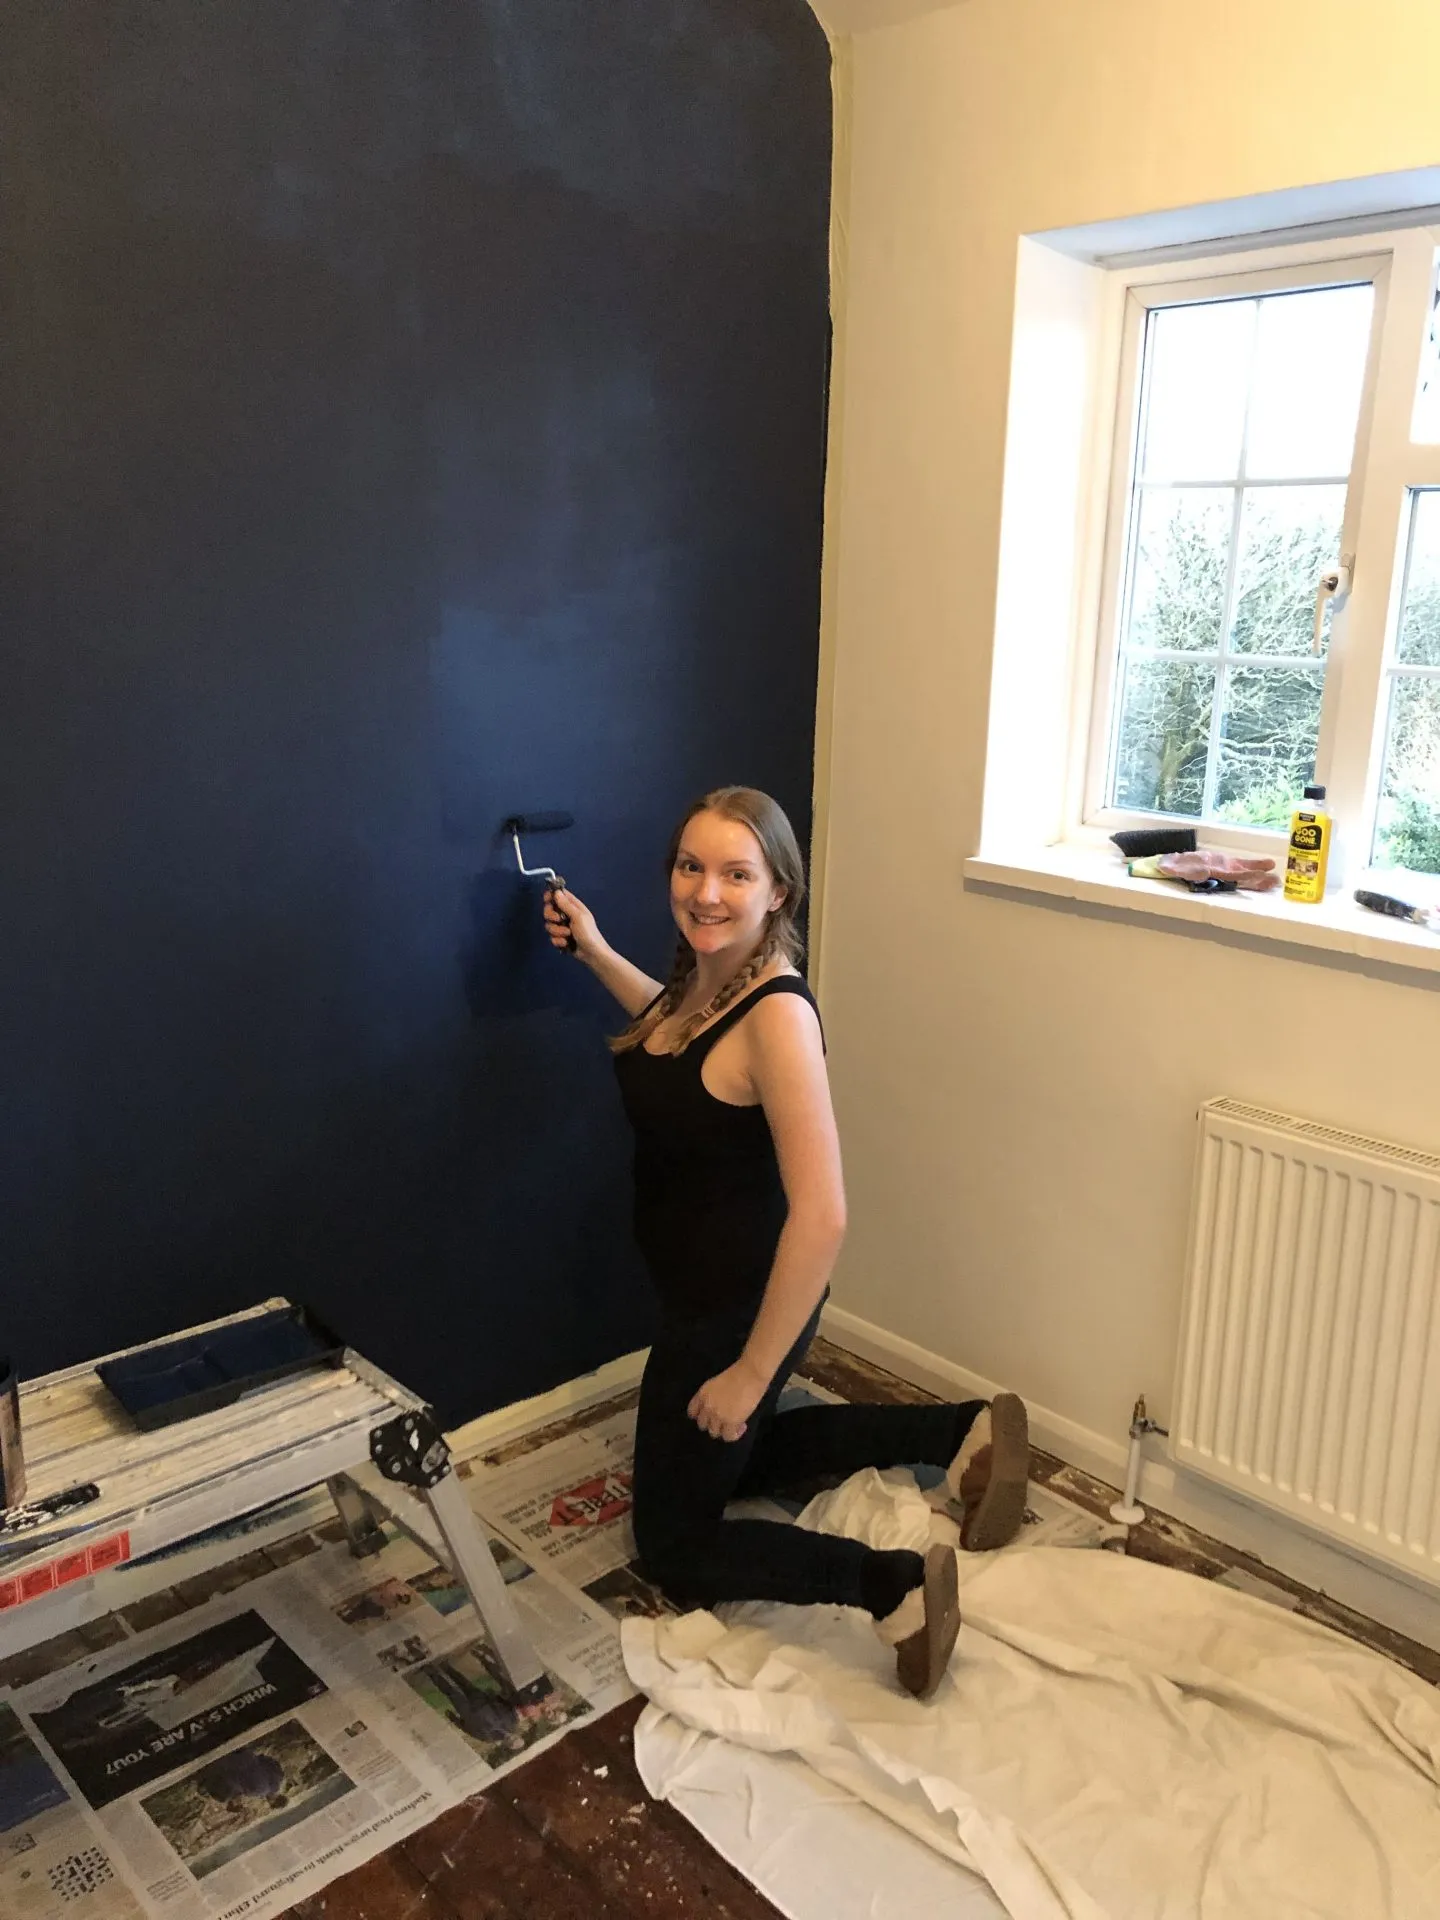
Step 8: Paint with a roller
Dip the roller into the paint tray and roll it back and forth to evenly distribute the paint on the roller.
Begin painting the walls with the roller using a “W” or “M” pattern, which helps spread the paint evenly.
Apply even pressure on the roller and maintain a consistent speed while painting. Avoid pressing too hard or going too fast, as this can create streaks.
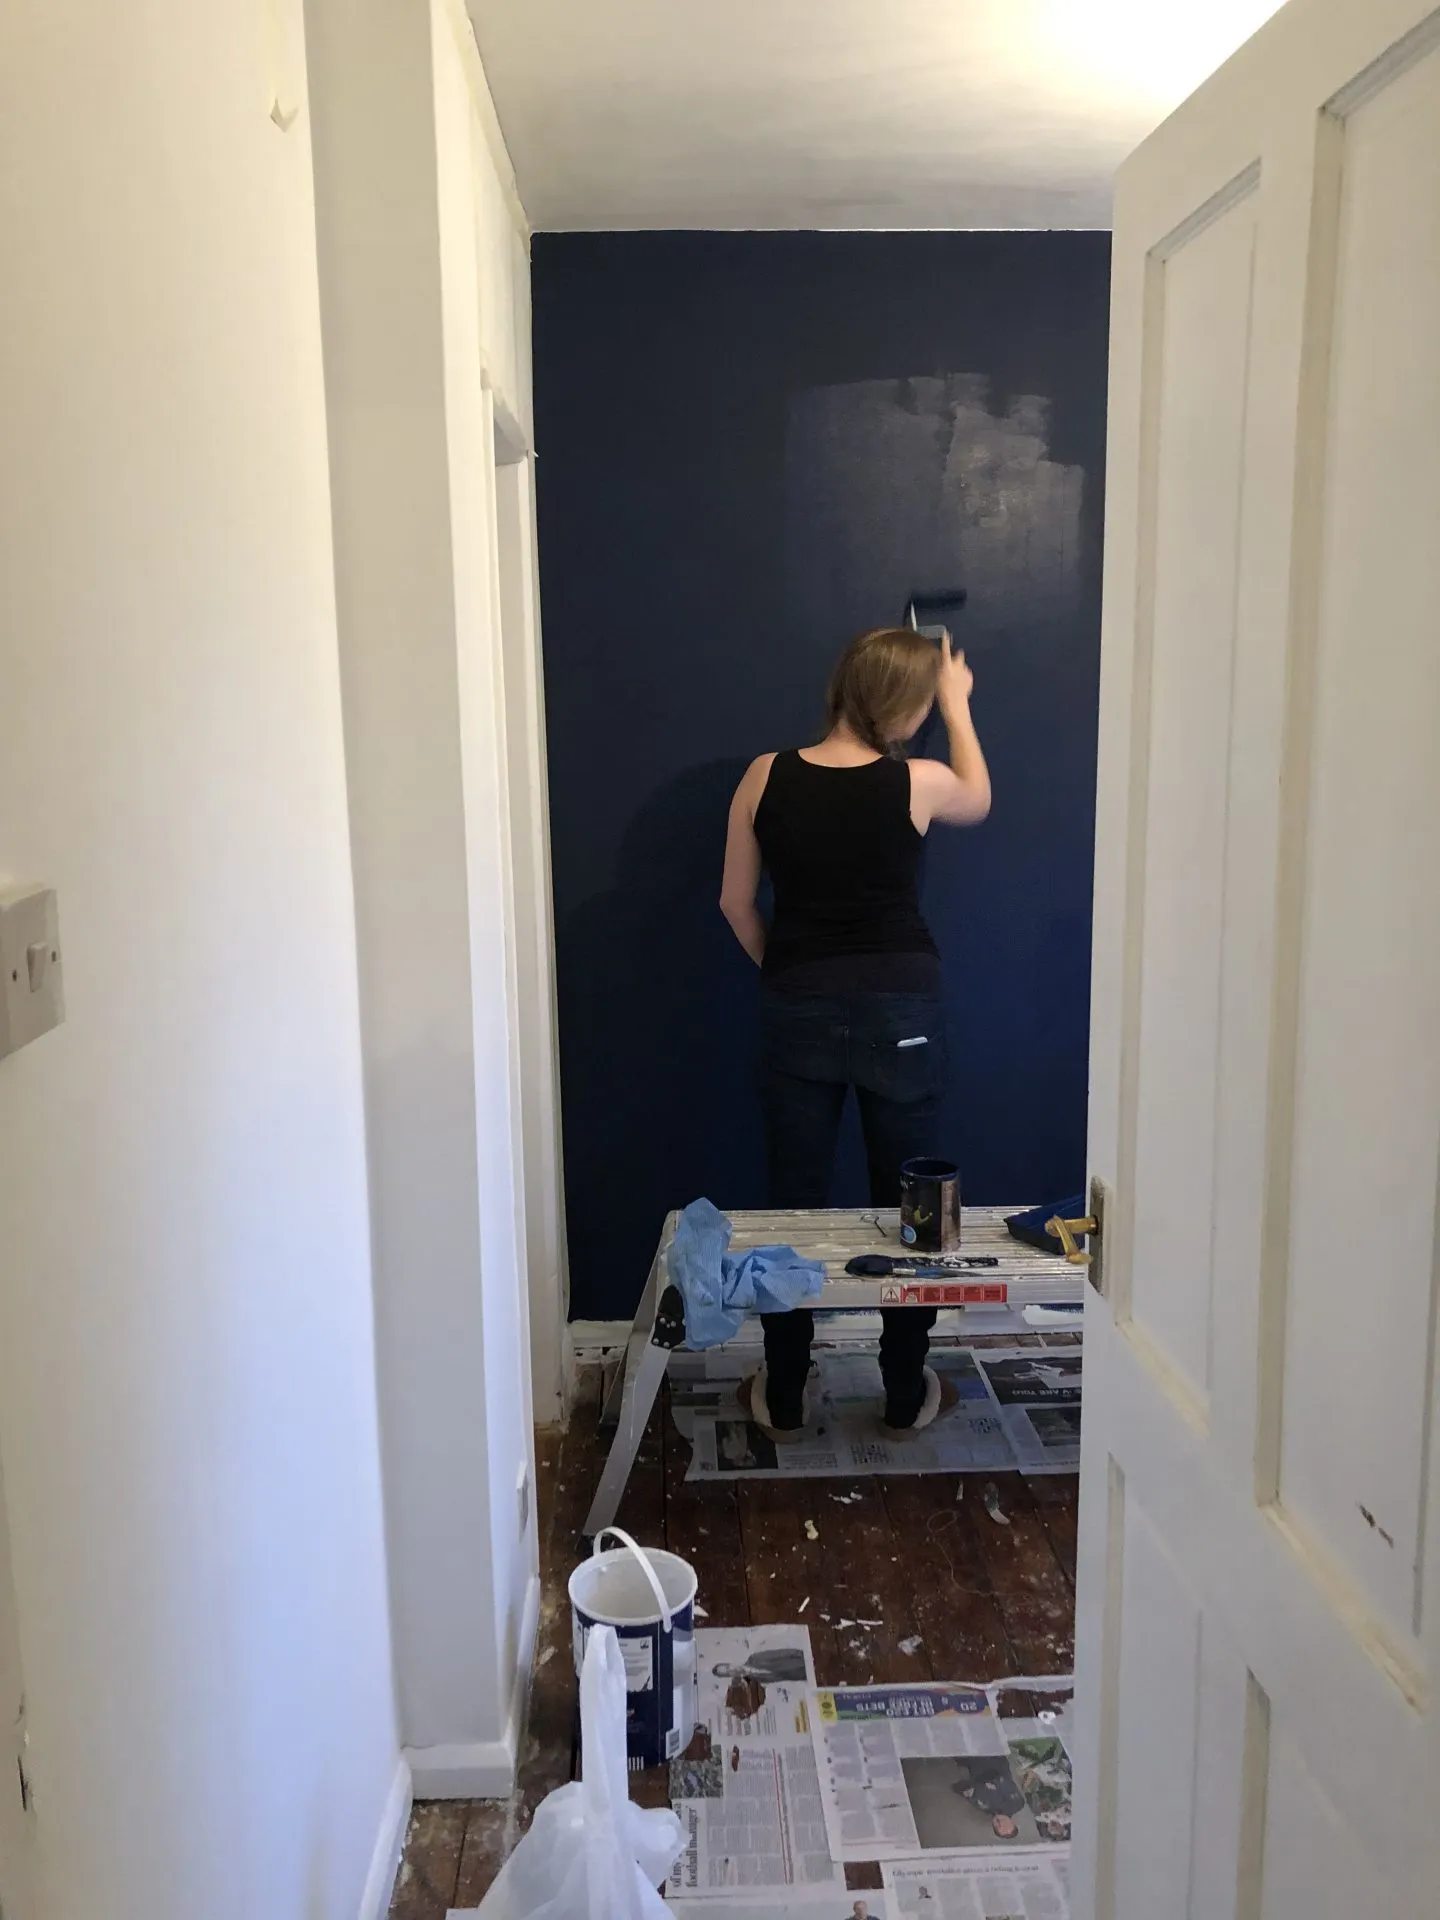
Step 9: Work in sections
Don’t try to paint the entire wall in one go. Instead, divide the wall into manageable sections, around 3 to 4 feet wide, and complete one section at a time. This will prevent the paint from drying too quickly and reduce the chances of visible brush or roller marks.
Step 10: Keep a wet edge
Ensure you maintain a wet edge while painting. This means overlapping each new stroke with the previous one while the paint is still wet. It helps blend the sections together, preventing streaks and visible lines.
Step 11: Apply a second coat
Once the first coat is dry (follow the manufacturer’s recommended drying time), apply a second coat following the same techniques as before. A second coat often helps achieve a more even and streak-free finish.
Step 12: Allow the paint to dry completely
Be patient and let the paint dry thoroughly before removing the painter’s tape or moving furniture back into the room. Rushing this step may lead to smudges or streaks.
By following these steps and being mindful of your technique, you can paint walls without streaks and achieve a beautiful, smooth finish for your room.
If you prefer to save time and ensure a perfectly smooth finish, you might want to consider using a paint sprayer instead. Check out my guide to the best paint sprayers to help you choose the right one for your project.


Leave a Reply